

DIY Skateboard with Sophia!
- Sophia Karl
- Jul 6, 2021
- 4 min read
Updated: Nov 19, 2025
Are you looking for the perfect summer craft to create a fun and fulfilling product? Are you a creative and artistic individual who would love to engage in the surf and skate community? If so, I am very glad you found this article. Here, I am going to guide you in creating your very own custom flat-styled longboard to skate around. I created my own successful longboard (first try!) when I was in the fifth grade. With that said, you do not need much skill to create a dope board. The best part is: your board will be completely unique and modified to your personal liking. Go and gather the materials listed below and you are ready to start crafting.
Please have adult supervision when using power tools and wear your safety glasses!
MATERIALS LIST


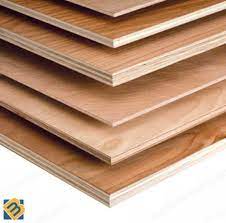
¼ plywood
Portable sander
Jigsaw
150, 100, and 50 grit sandpaper
Measuring Tape
Pencil/Pen
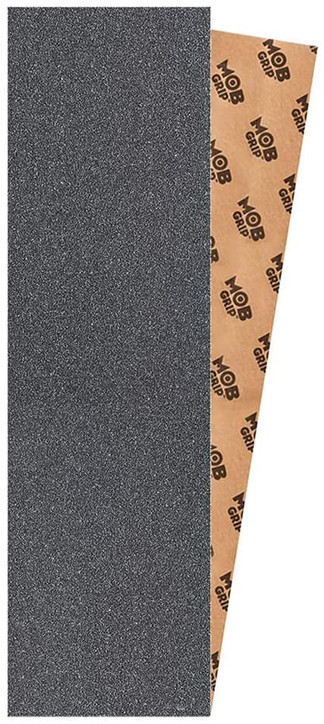
Grip Tape (also come in multiple colors & patterns)
Trucks, wheels, risers, and barings (nuts and bolts are typically included when purchasing the trucks)
Box Cutter
Drill
Polyurethane (eco-friendly)
Stencil (optional)
Paint (optional)
Wood Stain (optional)
Skate Tool (optional but quite helpful)

Let's Get Started
1. Start with locating a flat area to sketch your board. While a template is not completely necessary, I highly suggest using one for your first few rounds of making boards. You can search on google “Longboard Skate Template”, print and then cut out, or even use an old board on hand and trace the design. This can help you find a practical shape that is symmetrical. Whether it's from a sketch or freehand, outline your design in pen/pencil/marker on the plywood.
2. After you trace your shape, whip out the Jigsaw machine. Make sure to wear the appropriate safety precautions, such as goggles and a mask. Ask a parent or guardian to help out with this part if you feel that is needed. Cut out where you marked on the plywood.
3. After your board is cut, it is time to start sanding. Take your lowest grit sandpaper (50) and begin to sand the edges and flat sides. After everything is smoothed and has no sharp points, make sure to round the edges alongside every corner and side. After confirming that all corners, edges, and sides of the board are completely smoothed and rounded, finish up with the lighter grit sandpaper (100-150), going over everything you just did.
4. Time to start decorating! This is the fun part, where you have complete and total reign over how you want your board created. In the past, I have used spray paint, wood stain, and acrylic paint to create fun designs and patterns. However, it is totally up to you. Have fun with this part!
5. Now, we need to seal your design and paint job into place. Find an open area to glaze your board. Make sure the paint is dry, and then smear the polyurethane along every part of the board. This will create a protectant from the paint chipping away.
6. After your board is completely dry, we can now assemble it. I suggest supporting small businesses and heading to your local skate shop. Tell them you are making a skateboard and are in need of longboard wheels, trucks, bearings, nuts, bolts, and risers. They will help you find the best materials. If this option is not available to you, you can buy them off Amazon. Search for “Longboard Trucks and Wheels”. Place the risers at the top and end of the board, approximately 4-5 inches from the nose and 5-6 inches from the tail. It depends on the size of the board you created, but make sure to space them apart for the best stability. Mark where the holes of the riser are and drill there. Place the risers on the bottom of the board, followed by the trucks. Screw in the bolts and nuts (starting from the top). Once all is secured in place, put the bearings in the wheels. You can use your skate tool or a hammer to fasten them into place. After they are all in, you can place the wheels on the trucks and screw them into place.
7. Lastly- grip tape. Have fun with this part too. There are so many colors and designs of grip tape out there, so pick your favorite one. Similar to finding trucks, head to your local skate shop before purchasing grip tape on Amazon or other websites. (Support small biz!) You can cut the tape into shapes, designs, patterns, or leave it as is. After placing the grip tape on the board, flip it over so the backside is facing you. Using a box cutter, slice the excess grip tape off the edges of the board.
Congratulations...there you have it! Your very own unique longboard. Have fun riding it!

Sophia Karl is a withitgirl contributor who enjoys, skating, surfing, and spending time with friends and family.
© 2020-2021 withitgirl. All rights reserved. We appreciate your feedback!


Comments